Posts tagged ‘dag’
A server-side database availability group administrative operation failed. Error The operation failed. CreateCluster errors may result from incorrectly configured static addresses
Recently , we were working with one of our customer to build the Exchange 2019 DAG. When we add the 2 Exchange Nodes to the DAG , the process got failed with the error “A server-side database availability group administrative operation failed. Error The operation failed. CreateCluster errors may result from incorrectly configured static addresses – Error: Windows Failover Clustering isn’t installed on ‘xxxxxx’.. [Server: xxxxxxxxx] – Restart the server to complete the failover cluster installation also check for the duplicate mac , incorrect IP address, if it is a VM make sure you have done sysprep.”
However , we were pretty sure that the servers were created using a fresh installation instead of syprepped images. Also , we noticed that the Server Manager on both the servers were displaying a message ” Restart is Pending”.
Therefore , we simply restarted the server , and thereafter we were able to add the 2 exchange servers to the DAG.
How to recover from FWS and DAG Member failure in 2 Node DAG
Hi Folks
Recently we had a situation where one of our customer was affected with a malware and most of his servers became unusable. The impact caused the File Witness Servers( a Domain Controller) and one of the Exchange Node from the 2 Node DAG environment to become instable.
So after studying the impact we decided to do the below ;
- Remove the Failed Node from the DAG and rebuild it from scratch and attach it to the DAG again.
- Change the FWS to another server.
But unfortunately we were not able to proceed as we expected because the cluster service on the remaining node was not able to reach any cluster defined. When I opened the Failover Cluster Manager I was not able to reach or connect it to the DAG Cluster (As it was not able to reach any the Quorum in our case it is the FWS. The same was confirmed by the below command:
- cluster node
This will show the failed node as down and the survived DAG node in Joining state
To overcome the problem you have to restart the cluster without quorum to do that type the below command on the Exchange server
net stop clussvc
net start clussvc /fq
Boom .. everything returned normal with Windows Clustering on the remaining node ( you could verify it with the same command ; cluster node) . I was able to connect it to the DAG cluster via the Windows Clustering Manager.
Now the cluster is restored and I had to move the FWS to another server so I ran the command below which set the new FWS ( Source: https://practical365.com/exchange-server/recovering-a-failed-exchange-2016-database-availability-group-member/)
Set-DatabaseAvailabilityGroup -Identity “DAG-Name” -WitnessDirectory c:\FWS -WitnessServer “New Server Name”
Now we were able to proceed with the remaining steps that is to
– remove the Mailbox Copies from the Failed Server
– Move the Active Mailboxes from the Failed Server to the active Server
The commands I used are
- Get-MailboxDatabaseCopyStatus -Server “Failed Exchange Server Name” | Remove-MailboxDatabaseCopy -Confirm:$false
- Move-ActiveMailboxDatabase “Mailbox Database Name” -ActivateOnServer “Exchange Server Name” -SkipHealthChecks -SkipActiveCopyChecks -SkipClientExperienceChecks -SkipLagChecks -MountDialOverride:BESTEFFORT
Thereafter you could proceed with the remaining steps as mentioned below;
To remove the failed server from the DAG (-ConfigurationOnly switch will execute the command without trying to contact the failed server)
- Remove-DatabaseAvailabilityGroupServer -Identity “DAG Name” -MailboxServer “Failed Exchange Server Name” -ConfigurationOnly
Thereafter you need to remove the failed server from the Cluster Group to do that;
- Get-ClusterNode “Failed Exchange Server Name” | Remove-ClusterNode
Once you are able to pass through all the steps , the only thing left is to rejoin the Failed Exchange Server to the same DAG. (Refer Article:https://practical365.com/exchange-server/recovering-a-failed-exchange-2016-database-availability-group-member/)
Hope this will help someone in a similar situation.
Good Luck
Muralee
How to create Exchange 2013 DAG and Test DAG Failover
Dear Folks
Today I decided to write a post explaining Exchange 2013 DAG Switchover/Switchback and Failover/Failback because I could not find a proper or an consolidated article in the Internet which explains the required steps to install and test the DAG.
This article will be divided in to 3 sections
Step 1 – Installation of Exchange Prerequisites and Exchange Installation
Step 2 – DAG creation
Step 3 – Testing (Switchover/Switchback and Failover/Failback)
Environment
1 DC (Windows 2012 R2 OS, Domain: Test.local)
2 Exchange Servers(Windows 2012 R2 OS, Exchange 2013 CU6)
Step 1 – Installation of Exchange Prerequisites and Exchange Installation
In this series we will walk you through the process of performing a clean installation of Exchange 2013 in single server.(Windows OS installation will not be covered)
> Begin with Installing the AD DS and AD LDS Roles to prepare the AD forest for the Exchange 2013 deployment.

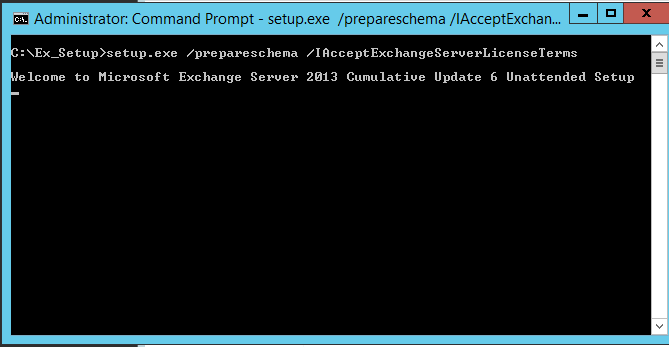
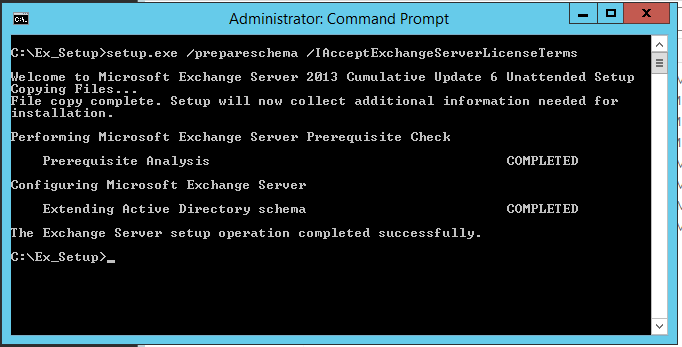
> Thereafter open an elevated command prompt run the prepare schema command
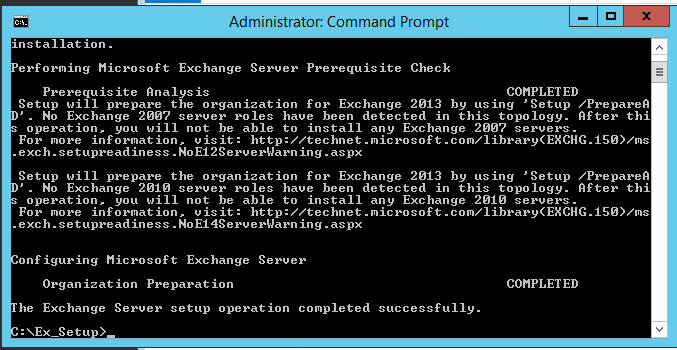
> Then start with the AD Preparation in this you need to mention the Exchange Server Organization Name

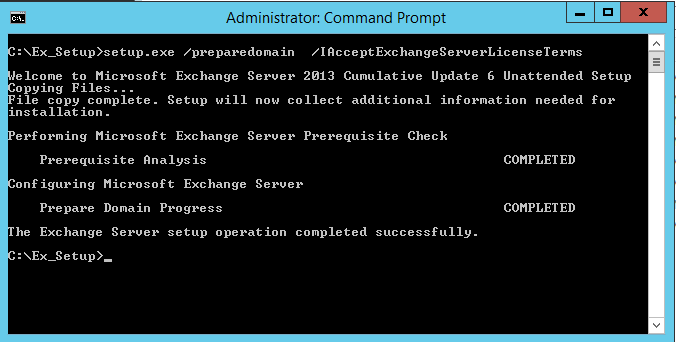
> Now you could prepare the domain.

> We need to install the below prerequisite based on exchange roles that will be installed since my deployment is single server role (cas and mbox together)
Install-WindowsFeature AS-HTTP-Activation, Desktop-Experience, NET-Framework-45-Features, RPC-over-HTTP-proxy, RSAT-Clustering, RSAT-Clustering-CmdInterface, Web-Mgmt-Console, WAS-Process-Model, Web-Asp-Net45, Web-Basic-Auth, Web-Client-Auth, Web-Digest-Auth, Web-Dir-Browsing, Web-Dyn-Compression, Web-Http-Errors, Web-Http-Logging, Web-Http-Redirect, Web-Http-Tracing, Web-ISAPI-Ext, Web-ISAPI-Filter, Web-Lgcy-Mgmt-Console, Web-Metabase, Web-Mgmt-Console, Web-Mgmt-Service, Web-Net-Ext45, Web-Request-Monitor, Web-Server, Web-Stat-Compression, Web-Static-Content, Web-Windows-Auth, Web-WMI, Windows-Identity-Foundation ( For other roles please refer Technet Article http://technet.microsoft.com/en-us/library/bb691354%28v=exchg.150%29.aspx )


> Next we install the below mentioned components in the mentioned order as
1.Net Framework 4.5.2 (Only for CU7 , In case CU6 the required .NET Framework is pre installed)
2.Microsoft Unified Communication Managed API 4.0,Core Runtime 64-bit
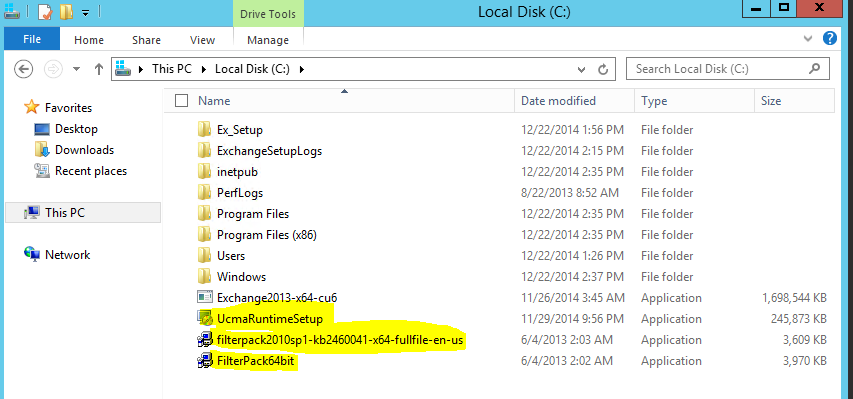
> Finally begin the Exchange Installation by running setup.exe and follow the screen (selected option may vary based on your environment requirements) below are some of the customized options as per my LAB


Step 2 – DAG creation
Now we have installed the Exchange Servers. We will begin with the DAG creation.
> As a prerequisite the Exchange Installation or the Database and Log location should not to be identical in my case it was not
hence I need to move the Database and Log Files.

> Thereafter we need to pre create the CNO (Cluster Name Object) when we deploy DAG on Windows 2012 or Windows 2012 R2
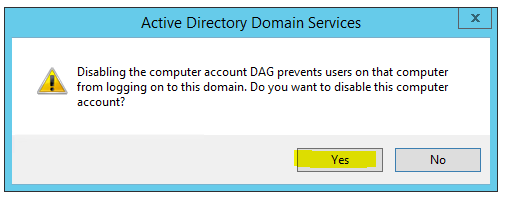
1) Create a new computer object via Active Directory Users and Computer Snap-in

2) Disable the Computer Account created above and Press ” Yes” on the Prompt.

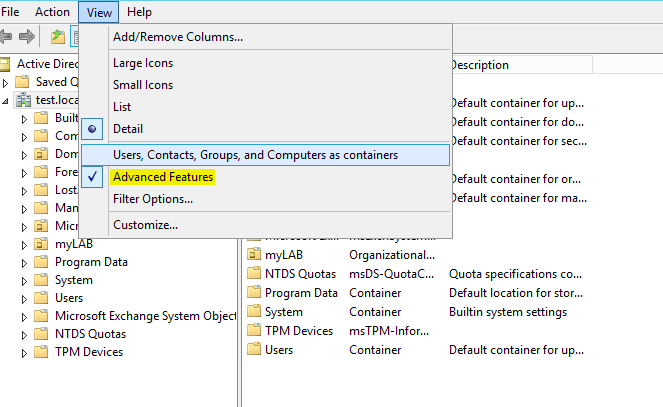
3) Enable “Advanced Features”
4) Right Click the Computer Object Created and add one of the Exchange Mailbox server and grant Full control

5) Add the File Witness Server in my case the Domain Controller in Exchange Trusted Sub System Group

6) Add the Exchange Trust Subsystem group on the Local Administrator Group of the File Witness Server.

Everything is done now we will begin with the DAG creation
7) We will create a DAG with the below parameteres
DAG Name : – DAG
IP Address :- 192.168.252.131
FSW Server : dc.test.local

NOTE:- I forgot the step 6 in my LAB and the FSW was not created , hence I need to re set the FSW property on my DAG after completing the Step6
![]()
![]()
8) Add the Mailbox Servers to the DAG.
![]()
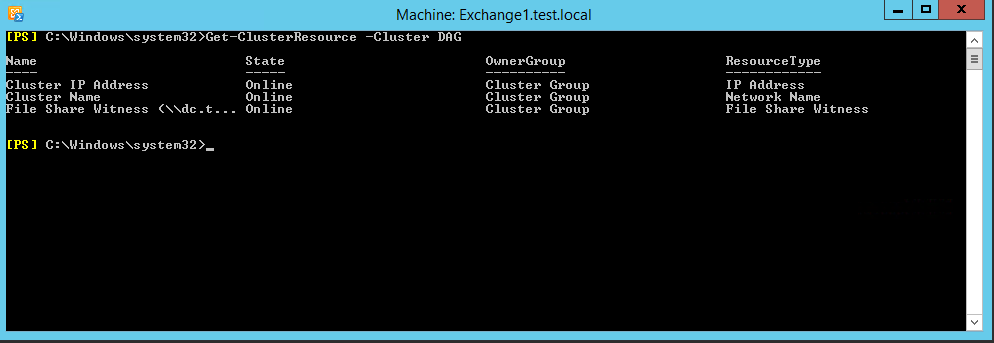
9) Verify the Cluster Resource to confirm whether the above commands are executed correctly and the required cluster resources has been created.
10) Now we are going to make the Database Copies ,hence check the Database and Log Path on the Exchange Server.
![]()
11) Add the First Copy
![]()
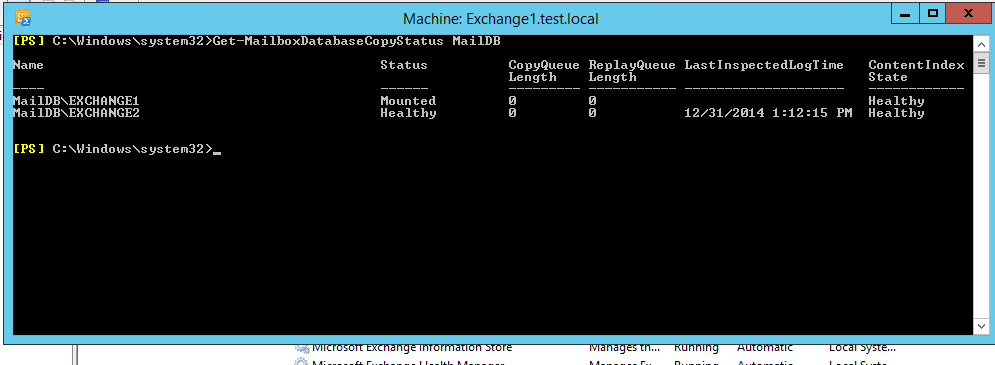
12) Verify the Database Copy Status and repeat the steps for the other databases.
(If you notice any status other the Healthy you could give some time or simply restart the Information Store Service.)
Step 3 – Testing (Switchover/Switchback and Failover/Failback)
1) Now we have successfully created the DAG we will go through the testing .( While testing I prefer if you could open an E-Mail Client to test the email flow between 2 accounts)
We will perform a database switchover which is a planned activity and can be done via ECP , Hence login to ECP –> Servers –> Databases
Select the passive copy of the database on the Exchange2 server and click on activate it.

Test the e-mail flow .
2) Now we will test the automatic service recovery a beautiful feature of DAG.
In the below snapshot we will stop the IISAdmin service and confirm that Exchange will restart the service automatically

3) Now we will perform a Failover which is an unplanned activity,In order to do this we will crash or stop the process Microsoft.Exchange.Store.Worker
on theExchange2 Server
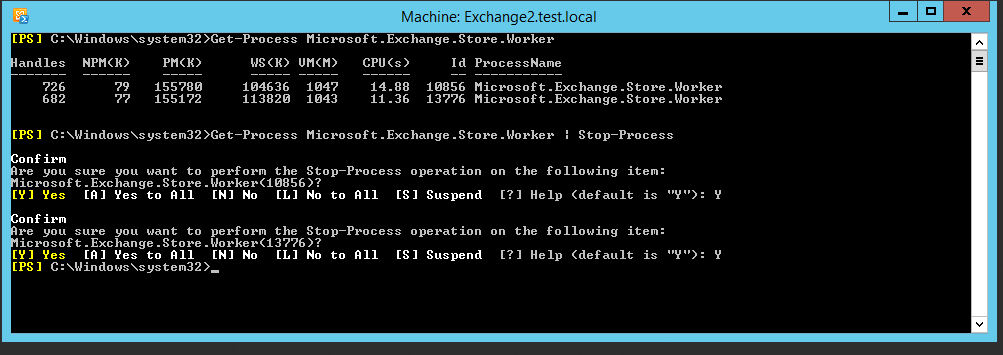
Once it done you will notice on the ECP that the Passive Database is activated automatically on the Exchange1 Server and now you could test the e-mail flow.

Done.
How to move the database and transaction log files on Exchange 2010 DAG servers
Hi Folks
In case if you want move the transaction logs and the exchange database to a new location on the disk , you have to follow certain guidelines to avoid exchange nightmare.
But I would like to recommend you do this before you establish the DAG ,
In-case if you have forgotten to do this before establishing the DAG you should do the below steps on the exchange servers that are part of the DAG in the mentioned order
– Disable the Circular logging ( In-case if it was enabled before)
– Then you need to remove the database copies on each database per each each server
Remove-MailboxDatabaseCopy -Identity DB1\MBX1 -Confirm:$False (This Eg:- will remove the copy of the database DB1 on the MBX1 server)
– Create the necessary folder on the new location
– Move the Mailbox databases as below
* Open Exchange Management Console
* Navigate to Organization Configuration -> Mailbox -> Database Management -> Select the Mailbox Database
* Right click on it select “Move Database Path” and enter the new locations
– On each DAG member server you will find the passive copy of the database for the other member servers,normally stored on the original location where the Active Mailbox is
stored ,You need to move these files to the new location , Keep in mind when you are moving the Passive Copies of the database it should be stored on the same drive letter where
the Active Mailbox database is stored on the active member.
Eg:- Server1 host the mailbox DB1 on C:\DB Folder , hence you need to maintain the same drive letter on the remote server(Server2) where it will host the passive copy for the DB1
Do the same on all the DAG members
– Now add the Mailbox database copies for all the servers.
Add-MailboxDatabaseCopy -Identity DB1 -MailboxServer Server2 -ActivationPreference 2
– On each server where the mailbox was moved run the below commands Net stop msftesql-Exchange Net start MSExchangeSearch
Tip:- I came across an issue where when I changed the drive letter on the server where it holds the mailbox , the database dismounted,therefore if you face the same issue use the
Move-Database command with the -ConfigurationOnly Parameter.
