Archive for December, 2014
How to create Exchange 2013 DAG and Test DAG Failover
Dear Folks
Today I decided to write a post explaining Exchange 2013 DAG Switchover/Switchback and Failover/Failback because I could not find a proper or an consolidated article in the Internet which explains the required steps to install and test the DAG.
This article will be divided in to 3 sections
Step 1 – Installation of Exchange Prerequisites and Exchange Installation
Step 2 – DAG creation
Step 3 – Testing (Switchover/Switchback and Failover/Failback)
Environment
1 DC (Windows 2012 R2 OS, Domain: Test.local)
2 Exchange Servers(Windows 2012 R2 OS, Exchange 2013 CU6)
Step 1 – Installation of Exchange Prerequisites and Exchange Installation
In this series we will walk you through the process of performing a clean installation of Exchange 2013 in single server.(Windows OS installation will not be covered)
> Begin with Installing the AD DS and AD LDS Roles to prepare the AD forest for the Exchange 2013 deployment.

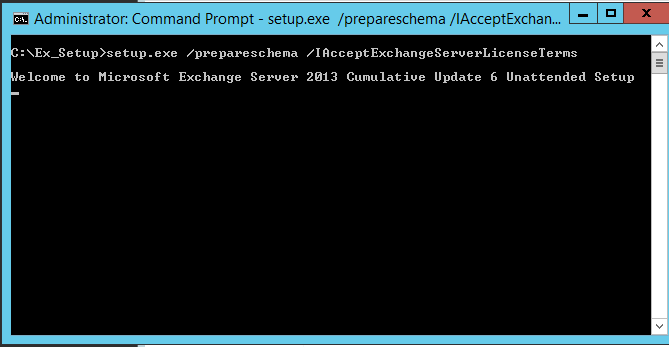
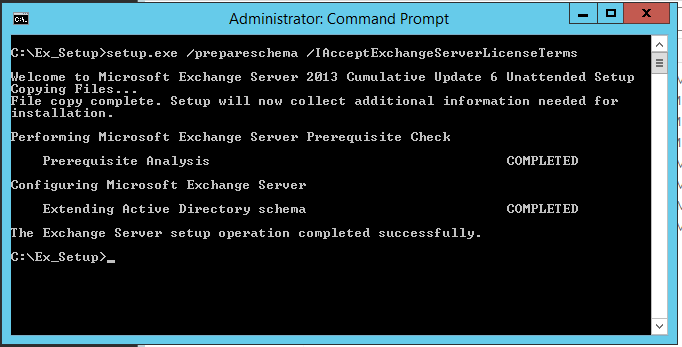
> Thereafter open an elevated command prompt run the prepare schema command
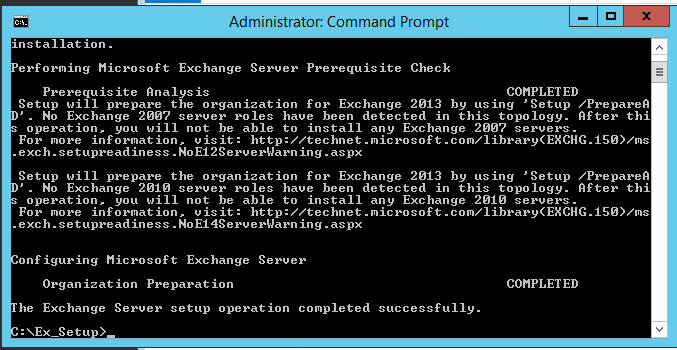
> Then start with the AD Preparation in this you need to mention the Exchange Server Organization Name

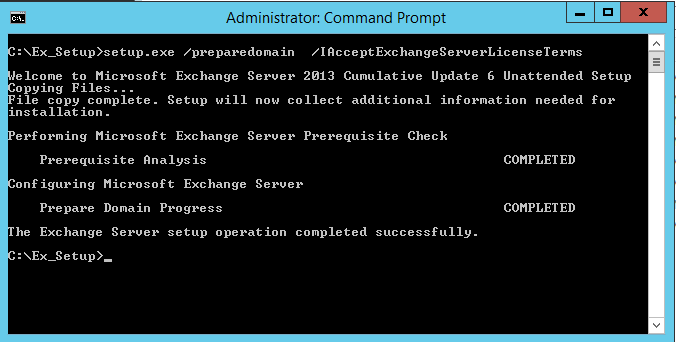
> Now you could prepare the domain.

> We need to install the below prerequisite based on exchange roles that will be installed since my deployment is single server role (cas and mbox together)
Install-WindowsFeature AS-HTTP-Activation, Desktop-Experience, NET-Framework-45-Features, RPC-over-HTTP-proxy, RSAT-Clustering, RSAT-Clustering-CmdInterface, Web-Mgmt-Console, WAS-Process-Model, Web-Asp-Net45, Web-Basic-Auth, Web-Client-Auth, Web-Digest-Auth, Web-Dir-Browsing, Web-Dyn-Compression, Web-Http-Errors, Web-Http-Logging, Web-Http-Redirect, Web-Http-Tracing, Web-ISAPI-Ext, Web-ISAPI-Filter, Web-Lgcy-Mgmt-Console, Web-Metabase, Web-Mgmt-Console, Web-Mgmt-Service, Web-Net-Ext45, Web-Request-Monitor, Web-Server, Web-Stat-Compression, Web-Static-Content, Web-Windows-Auth, Web-WMI, Windows-Identity-Foundation ( For other roles please refer Technet Article http://technet.microsoft.com/en-us/library/bb691354%28v=exchg.150%29.aspx )


> Next we install the below mentioned components in the mentioned order as
1.Net Framework 4.5.2 (Only for CU7 , In case CU6 the required .NET Framework is pre installed)
2.Microsoft Unified Communication Managed API 4.0,Core Runtime 64-bit
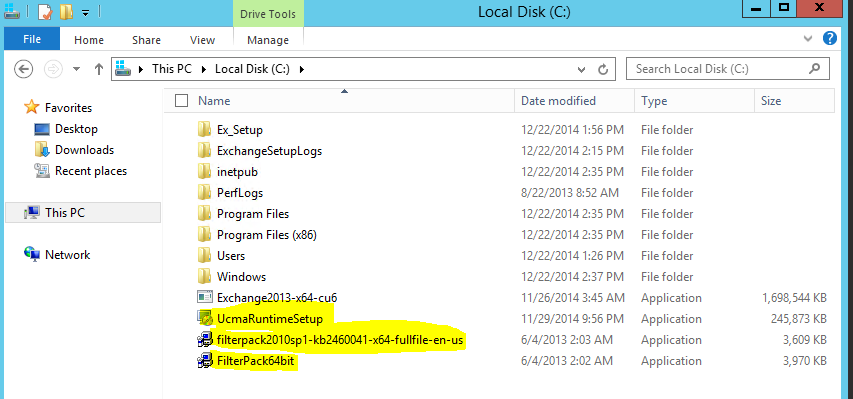
> Finally begin the Exchange Installation by running setup.exe and follow the screen (selected option may vary based on your environment requirements) below are some of the customized options as per my LAB


Step 2 – DAG creation
Now we have installed the Exchange Servers. We will begin with the DAG creation.
> As a prerequisite the Exchange Installation or the Database and Log location should not to be identical in my case it was not
hence I need to move the Database and Log Files.

> Thereafter we need to pre create the CNO (Cluster Name Object) when we deploy DAG on Windows 2012 or Windows 2012 R2
1) Create a new computer object via Active Directory Users and Computer Snap-in

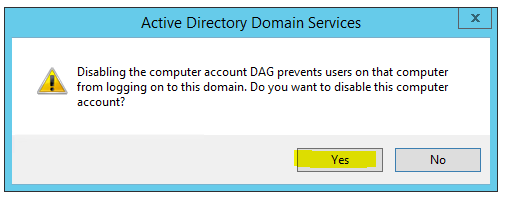
2) Disable the Computer Account created above and Press ” Yes” on the Prompt.

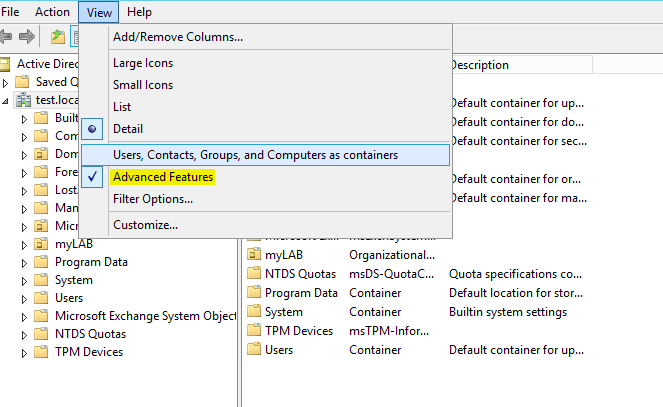
3) Enable “Advanced Features”
4) Right Click the Computer Object Created and add one of the Exchange Mailbox server and grant Full control

5) Add the File Witness Server in my case the Domain Controller in Exchange Trusted Sub System Group

6) Add the Exchange Trust Subsystem group on the Local Administrator Group of the File Witness Server.

Everything is done now we will begin with the DAG creation
7) We will create a DAG with the below parameteres
DAG Name : – DAG
IP Address :- 192.168.252.131
FSW Server : dc.test.local

NOTE:- I forgot the step 6 in my LAB and the FSW was not created , hence I need to re set the FSW property on my DAG after completing the Step6
![]()
![]()
8) Add the Mailbox Servers to the DAG.
![]()
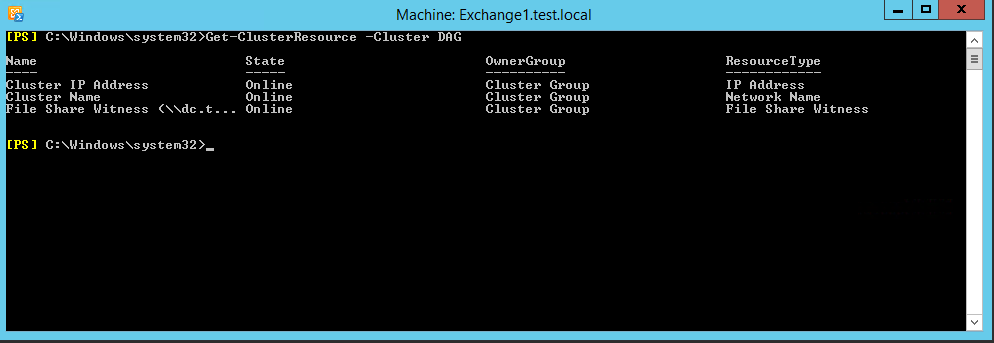
9) Verify the Cluster Resource to confirm whether the above commands are executed correctly and the required cluster resources has been created.
10) Now we are going to make the Database Copies ,hence check the Database and Log Path on the Exchange Server.
![]()
11) Add the First Copy
![]()
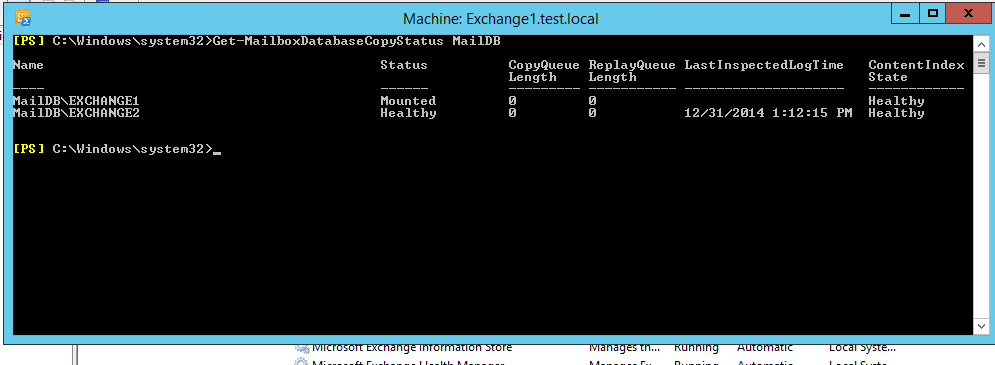
12) Verify the Database Copy Status and repeat the steps for the other databases.
(If you notice any status other the Healthy you could give some time or simply restart the Information Store Service.)
Step 3 – Testing (Switchover/Switchback and Failover/Failback)
1) Now we have successfully created the DAG we will go through the testing .( While testing I prefer if you could open an E-Mail Client to test the email flow between 2 accounts)
We will perform a database switchover which is a planned activity and can be done via ECP , Hence login to ECP –> Servers –> Databases
Select the passive copy of the database on the Exchange2 server and click on activate it.

Test the e-mail flow .
2) Now we will test the automatic service recovery a beautiful feature of DAG.
In the below snapshot we will stop the IISAdmin service and confirm that Exchange will restart the service automatically

3) Now we will perform a Failover which is an unplanned activity,In order to do this we will crash or stop the process Microsoft.Exchange.Store.Worker
on theExchange2 Server
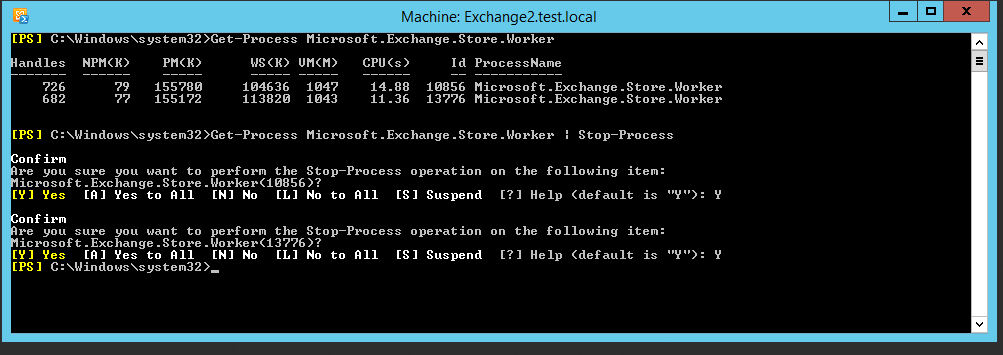
Once it done you will notice on the ECP that the Passive Database is activated automatically on the Exchange1 Server and now you could test the e-mail flow.

Done.
Exchange 2013 GRT Fails with Symantec Backup Exec 2014 SP1
Dear Folks
Recently we deployed Symantec Backup Exec 2014 V-Ray Edition and as per the Guidelines we installed the Agent on Exchange Server(Single Server) and configured all the prerequisites as below;
1) Add the BackupExec User to the below groups
-
Public Folder Management
-
Recipient Management
- Server Management
2) Enter the below commands in Powershell
new-RoleGroup -Name BackupExecRoles -Roles @(“Database Copies”, “Databases”, “Exchange Servers”, “Monitoring”, “Mail Recipient Creation”, “Mail Recipients”, “Recipient Policies”, “Mail Enabled Public Folders”, “Public Folders”)
Add-RoleGroupMember -Identity BackupExecRoles -Member BackupExecUser
3) This is for GRT
New-ManagementRole -Name “SymantecEWSImpersonationRole” -Parent ApplicationImpersonation
New-ManagementRoleAssignment -Role “SymantecEWSImpersonationRole” -User BackupExecUser -Name “BackupExecUser-EWSImpersonation”
New-ThrottlingPolicy -Name “SymantecEWSRestoreThrottlingPolicy” -EwsCutoffBalance Unlimited -EwsMaxBurst Unlimited -EwsMaxConcurrency Unlimited -ExchangeMaxCmdlets Unlimited -MessageRateLimit Unlimited -PowershellCutoffbalance Unlimited -PowershellMaxBurst Unlimited -PowershellMaxCmdlets Unlimited -PowershellMaxConcurrency Unlimited -PowershellMaxOperations Unlimited -RecipientRateLimit Unlimited -ThrottlingPolicyScope Regular
Set-Mailbox -Identity BackupExecUser -ThrottlingPolicy “SymantecEWSRestoreThrottlingPolicy
Set-ThrottlingPolicyAssociation -Identity BackupExecUser -ThrottlingPolicy “SymantecEWSRestoreThrottlingPolicy”
4) Test EWS Connectivity for the BackupExec User
test-webservicesconnectivity -MailboxCredential $(get-credential) -TrustAnySSLCertificate | FL
It will produce a logon prompt, enter the backup exec user credentials it will output some html tags without an error.You may face an error in the Powershell in Exchange 2013 and you need to run the command shown in the output and enter a password , thereafter if you run the original command it will not reproduce the error.
After all the above steps you may face the below error during the restore
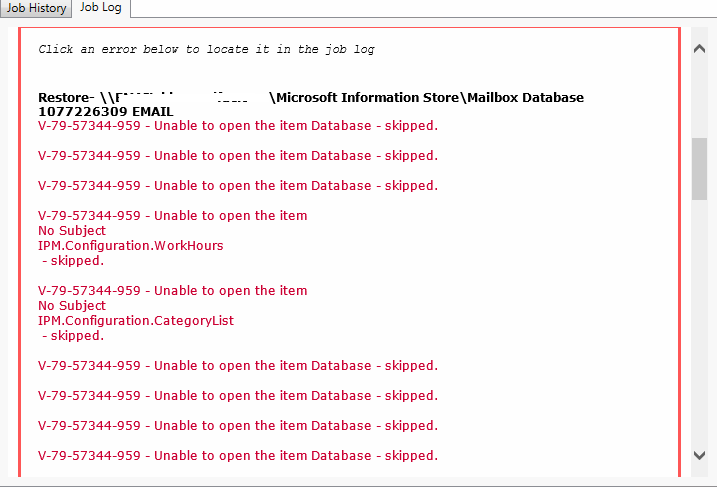
Assuming if you have done all the prerequisites correctly , you must try the below
1) Restart both the Backup Exec and the Exchange Server
2) Reconfigure the Backup Exec Job credential for the Exchange Server as below (This worked for us)
Domain Name\BackupExec User
Good Luck !!!
